HRV4Training
  • Home
  • QuickStart Guide
  • PRO & TEAMS
  • FAQ
  • Privacy & Terms
  • Contact
  • Publications
  • Blog
  • Shop

How to get the most out of your camera measurement

2/28/2016

1 Comment

 
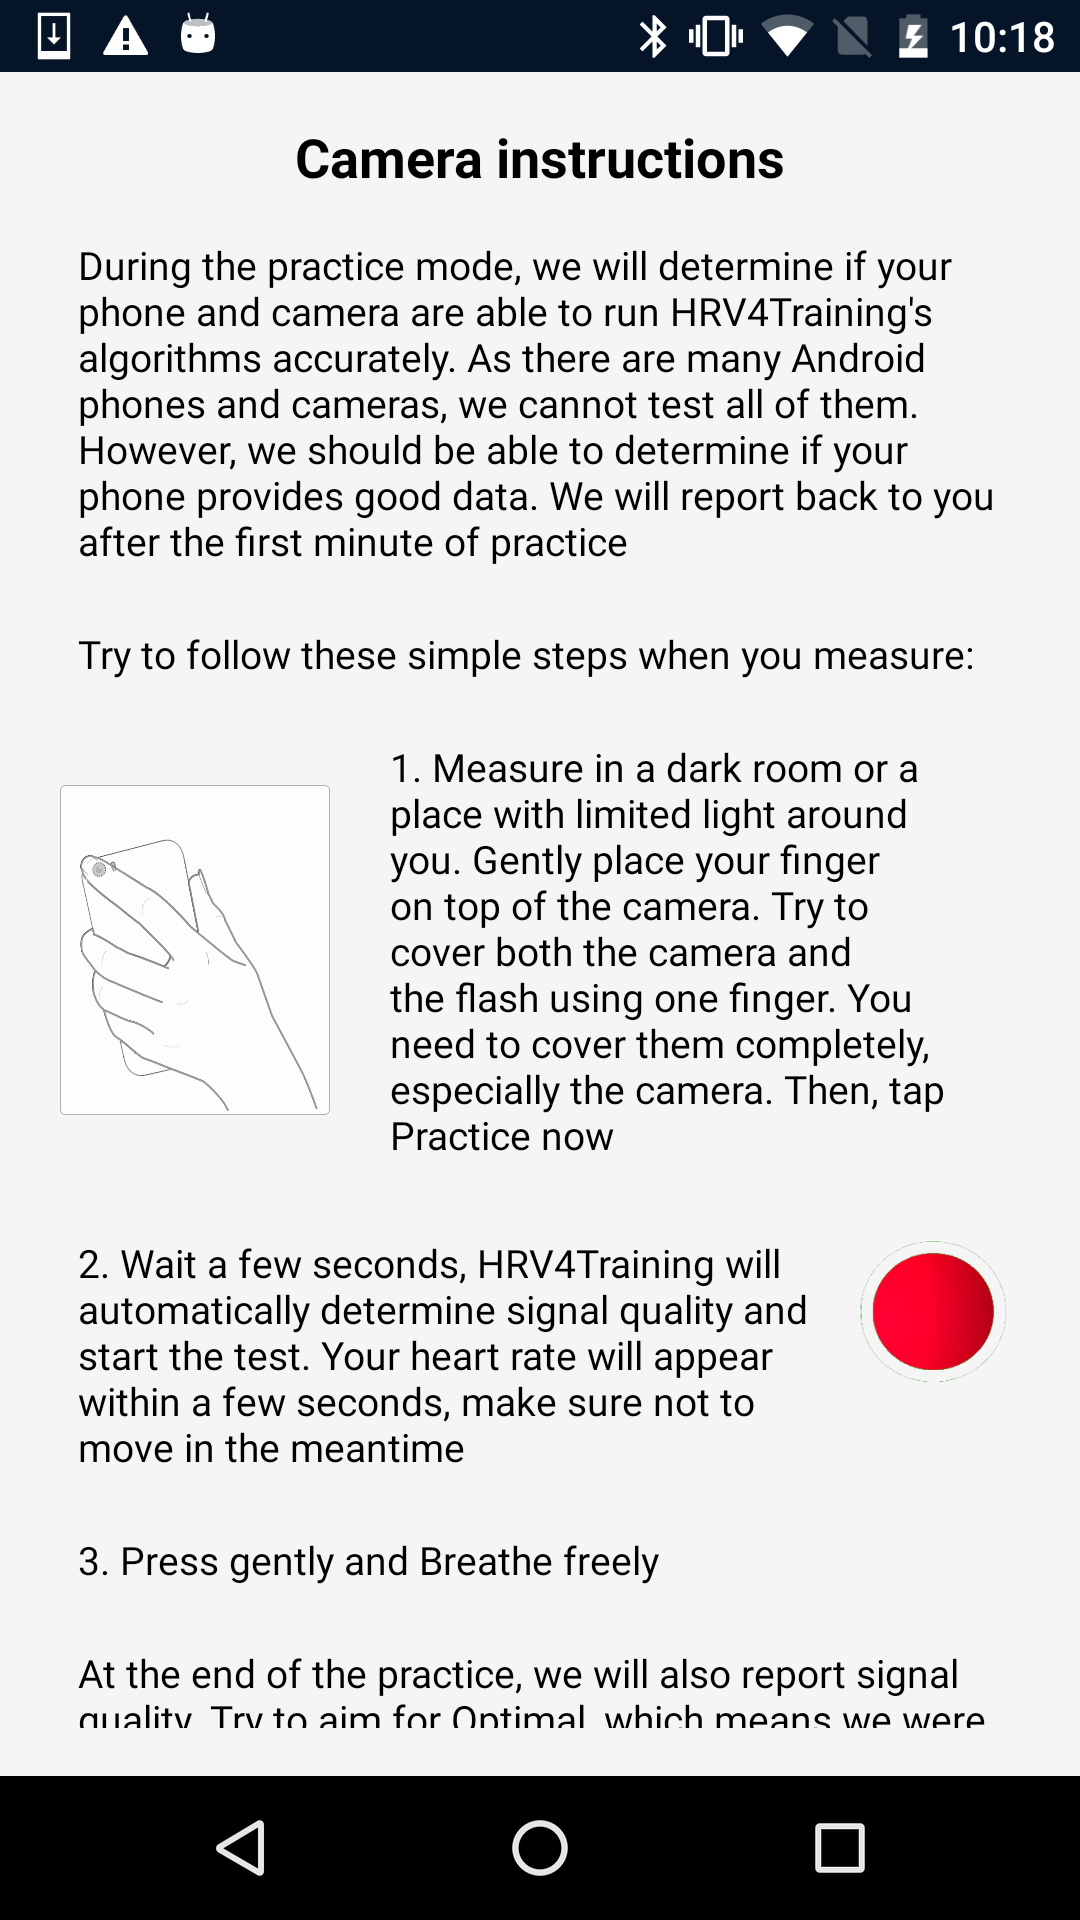
Blog post by Marco Altini

In this post I cover best practices and provide some additional guidelines around the camera-based measurement in HRV4Training. In the second part of this post, we provide general guidelines that apply regardless of your measurement setup.

HRV4Training's unique camera based measurement was scientifically validated and showed to be equivalent to chest strap measurements (Polar H7) as well as electrocardiography (find out more here).

On Android, fragmentation might cause issues. While we cannot test all devices and guarantee accuracy on the different Android phones, cameras and operating system versions, we developed methods to detect possible issues with your specific setup and inform you, so that you can take action. Please read below for some additional information regarding measuring with the camera on Android and check out this post for our validation on Android.

Camera guidelines

Make sure to follow these guidelines for all your measurements:
  • Make sure the flash turns on. If the flash doesn't turn on, the app won't be able to measure with high accuracy (which is the reason why you can't measure using an ipad, unless you use a bluetooth sensor). If the flash doesn't turn on and you have an iphone, go under your iphone's settings (in your phone, not in the HRV4Training app) and make sure that HRV4Training is allowed to access your camera. Android apps also need permission to access the camera, you can enable the app from Settings / Apps / HRV4Training, Permissions on Android.
  • Make sure to cover the back camera completely. In some phones the flash might be quite far from the camera. Try to cover entirely the camera and also the flash as much as you can, using only one finger. See here how to use an iPhone 11 or later.
  • Make sure there is limited light (apart from the flash) in the room you are taking the measurement in. Measuring in dark places provides better measurement as natural light does not interfere with our algorithms, while we measure blood flow using light reflection.
  • If you use a phone cover, remove it when taking the measurement.
  • Place your hand on the camera before tapping the "Measure HRV" button. The app will discard the first few seconds of data regardless, but placing the finger before starting the measurement can still be beneficial during the first few seconds.
  • Try not to move your finger and not to change the amount of pressure on the camera. Keep your finger still and in a comfortable position. This is the most important point. While we have techniques in place to cope with motion artifacts, movement will most likely mess up your data beyond what can be fixed. 
  • Do not apply excessive pressure, which might impede blood flow and therefore prevent the app from measuring it correctly. However, do apply some pressure. Especially on Android devices, we found that applying slightly more pressure can provide better signal quality.
  • Do not use earphones while measuring (iPhone only). Unfortunately due to some incompatibilities with the techniques we use, it has been reported that the app might freeze if you measure using earphones on iPhones.
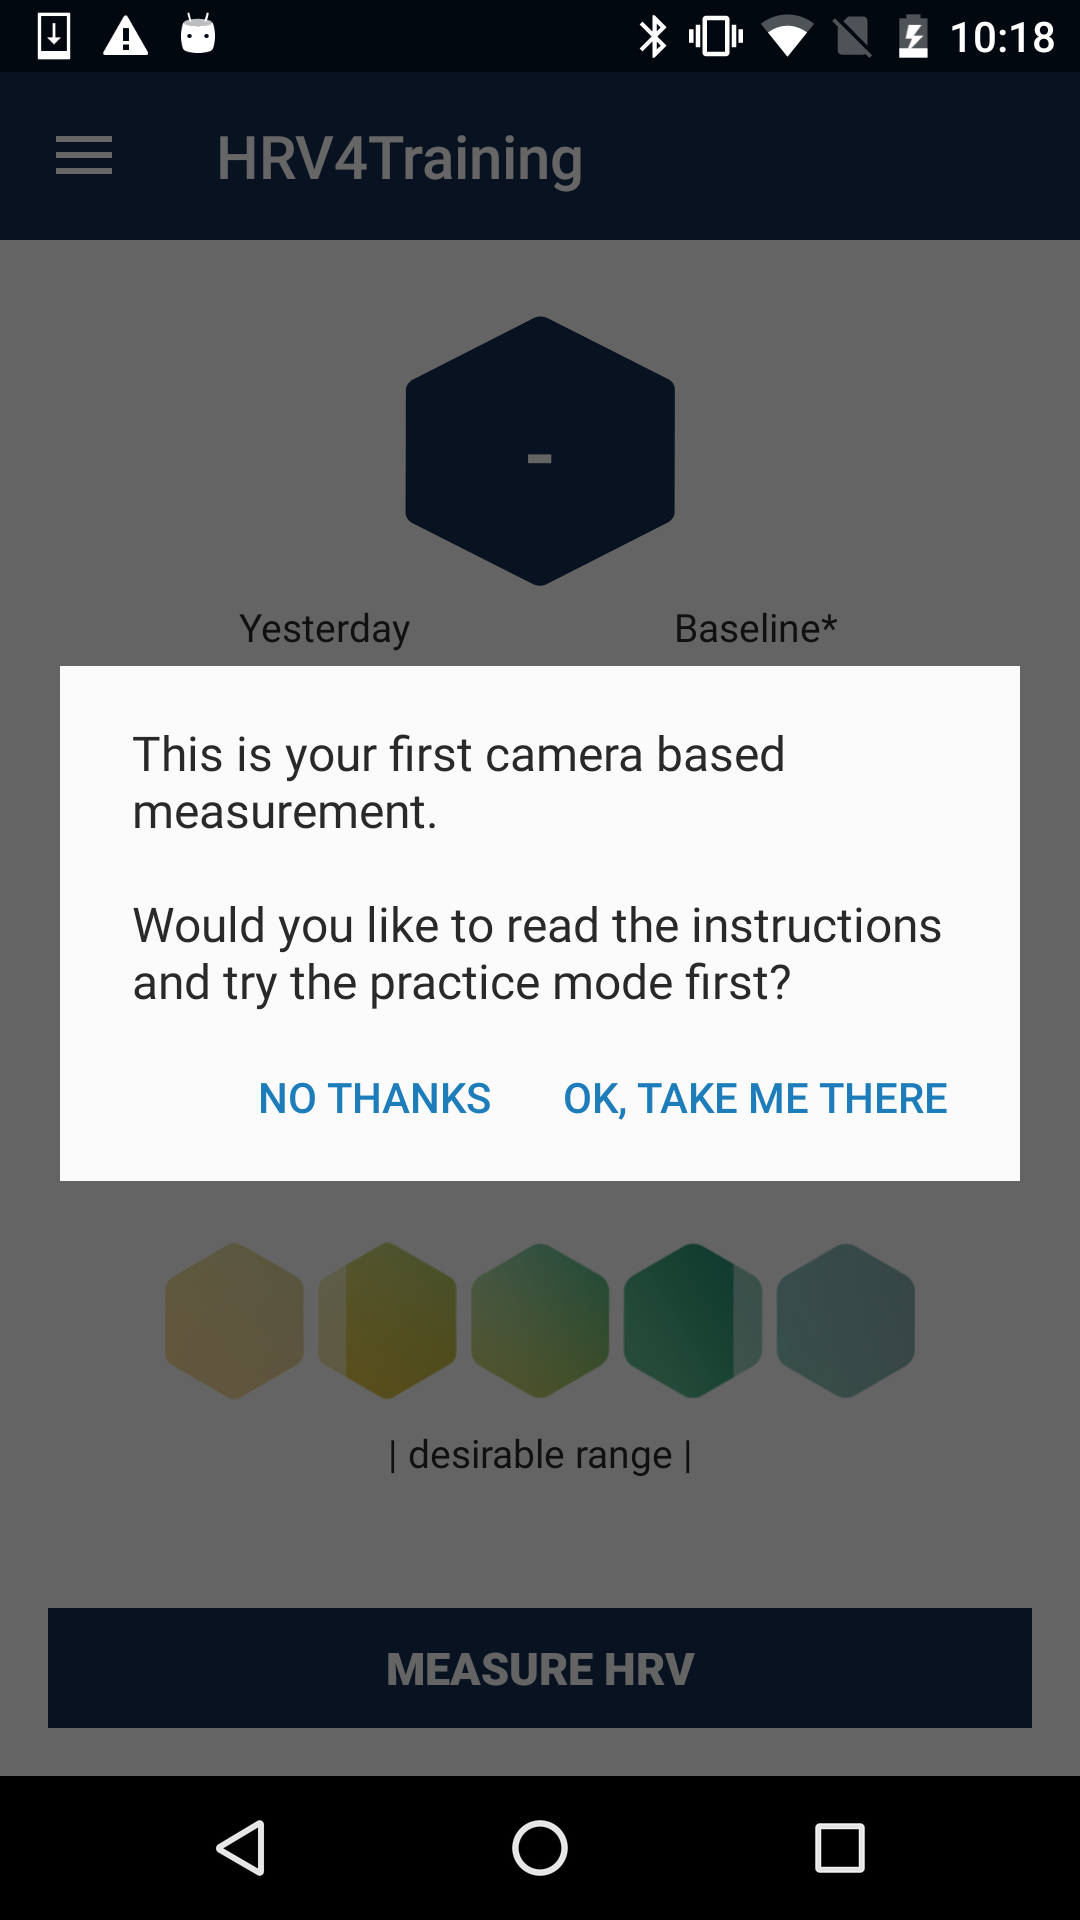
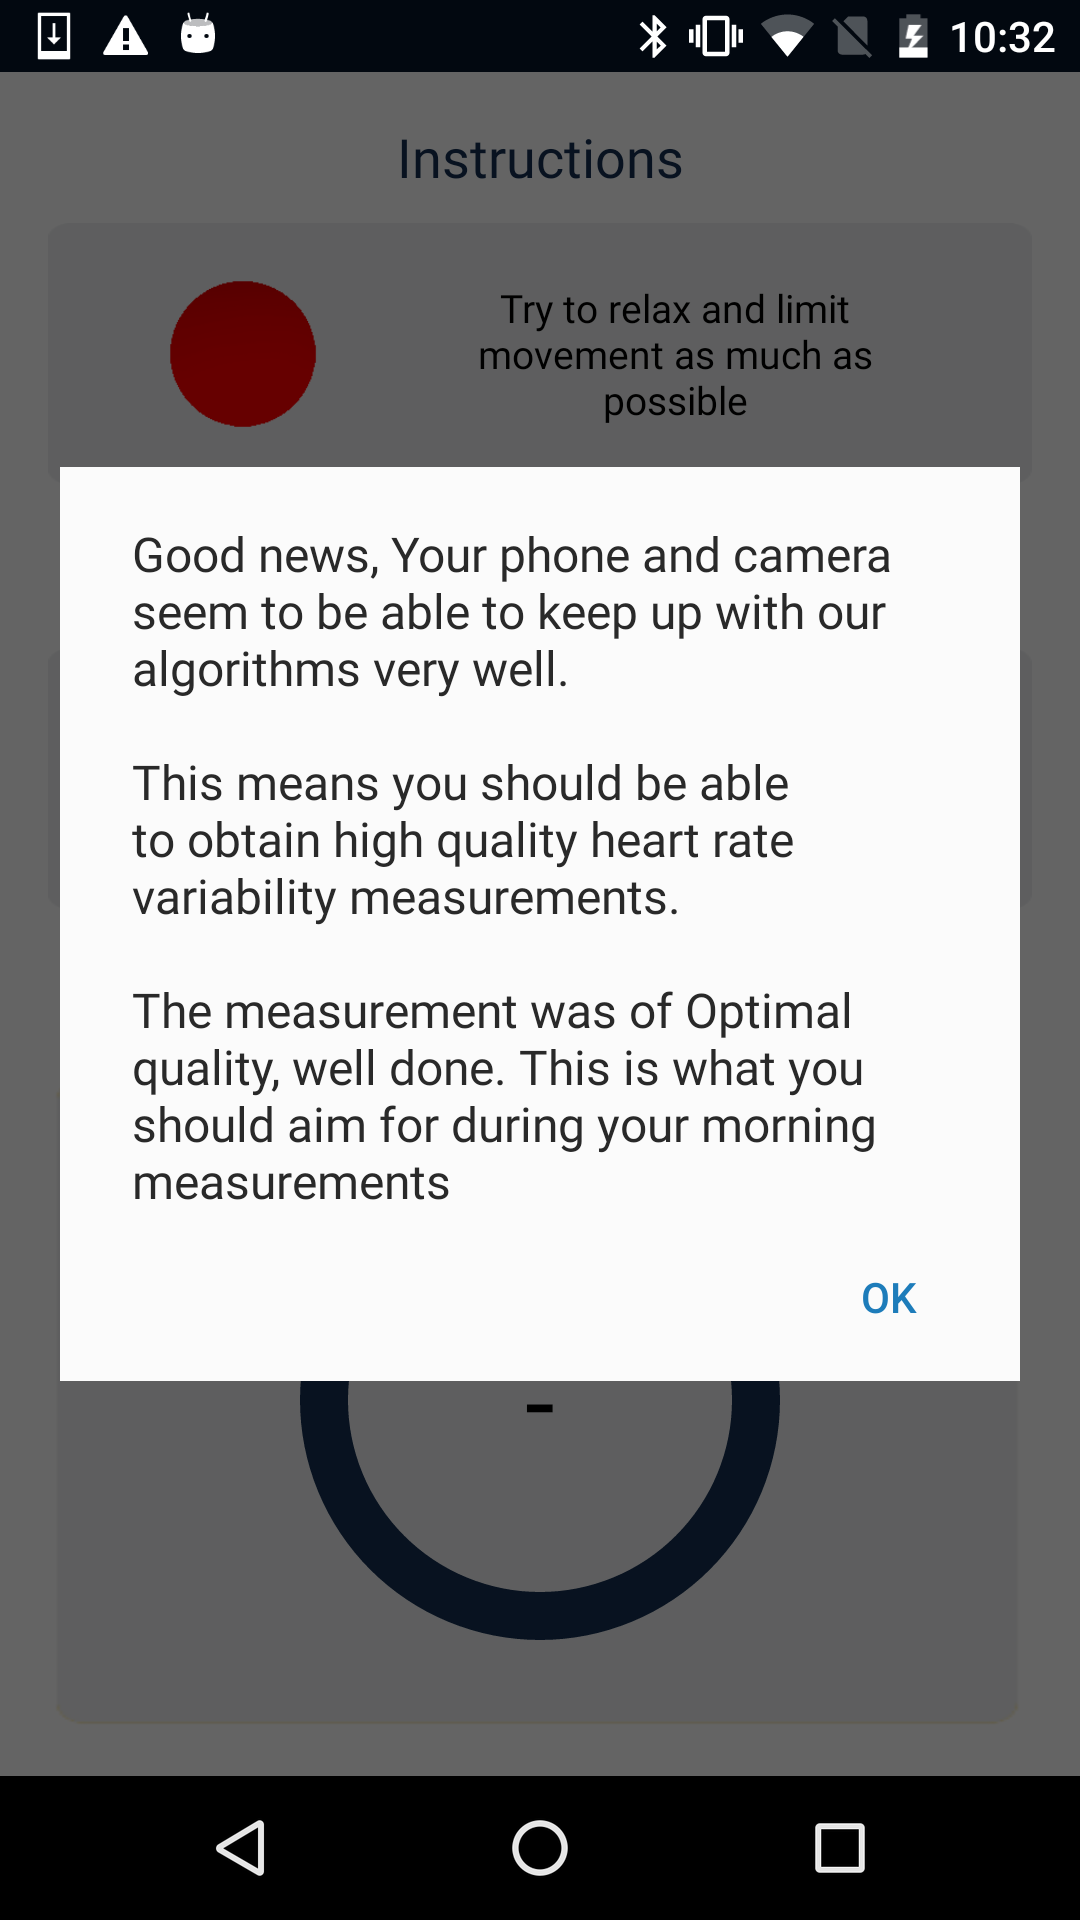
As first time users, try to take 2-3 measurements following the advice above, and you should be able to acquire high quality data rather easily. Try to make sure the data quality is labeled as "optimal" by the app, and repeat the measurement otherwise. If you experience additional issues, feel free to contact us. You can try the camera measurement anytime from Menu / Resources / Camera measurement practice mode.

The app provides the following signal quality categories:
  • Optimal: PPG was clean and there were either no ectopic beats or issues due to motion artifacts or a very limited amount of noise that could be dealt with by our artifact removal algorithms (for example change of pressure, or slight finger movement).
  • Good: More issues than in the previous category, motion artifacts most likely dealt with, but would still advice to take another measurement if you are not confident in the score (e.g. it is surprisingly high). Your HR data on the other hand is still reliable, and if you use your pulse data more than your HRV data to guide your trainings or explore trends, there is no need to take another measurement.
  • Poor / not good: Major issues in PPG signal quality and artifacts that could not be dealt with without disrupting your HRV. Highly recommended to take another measurement.

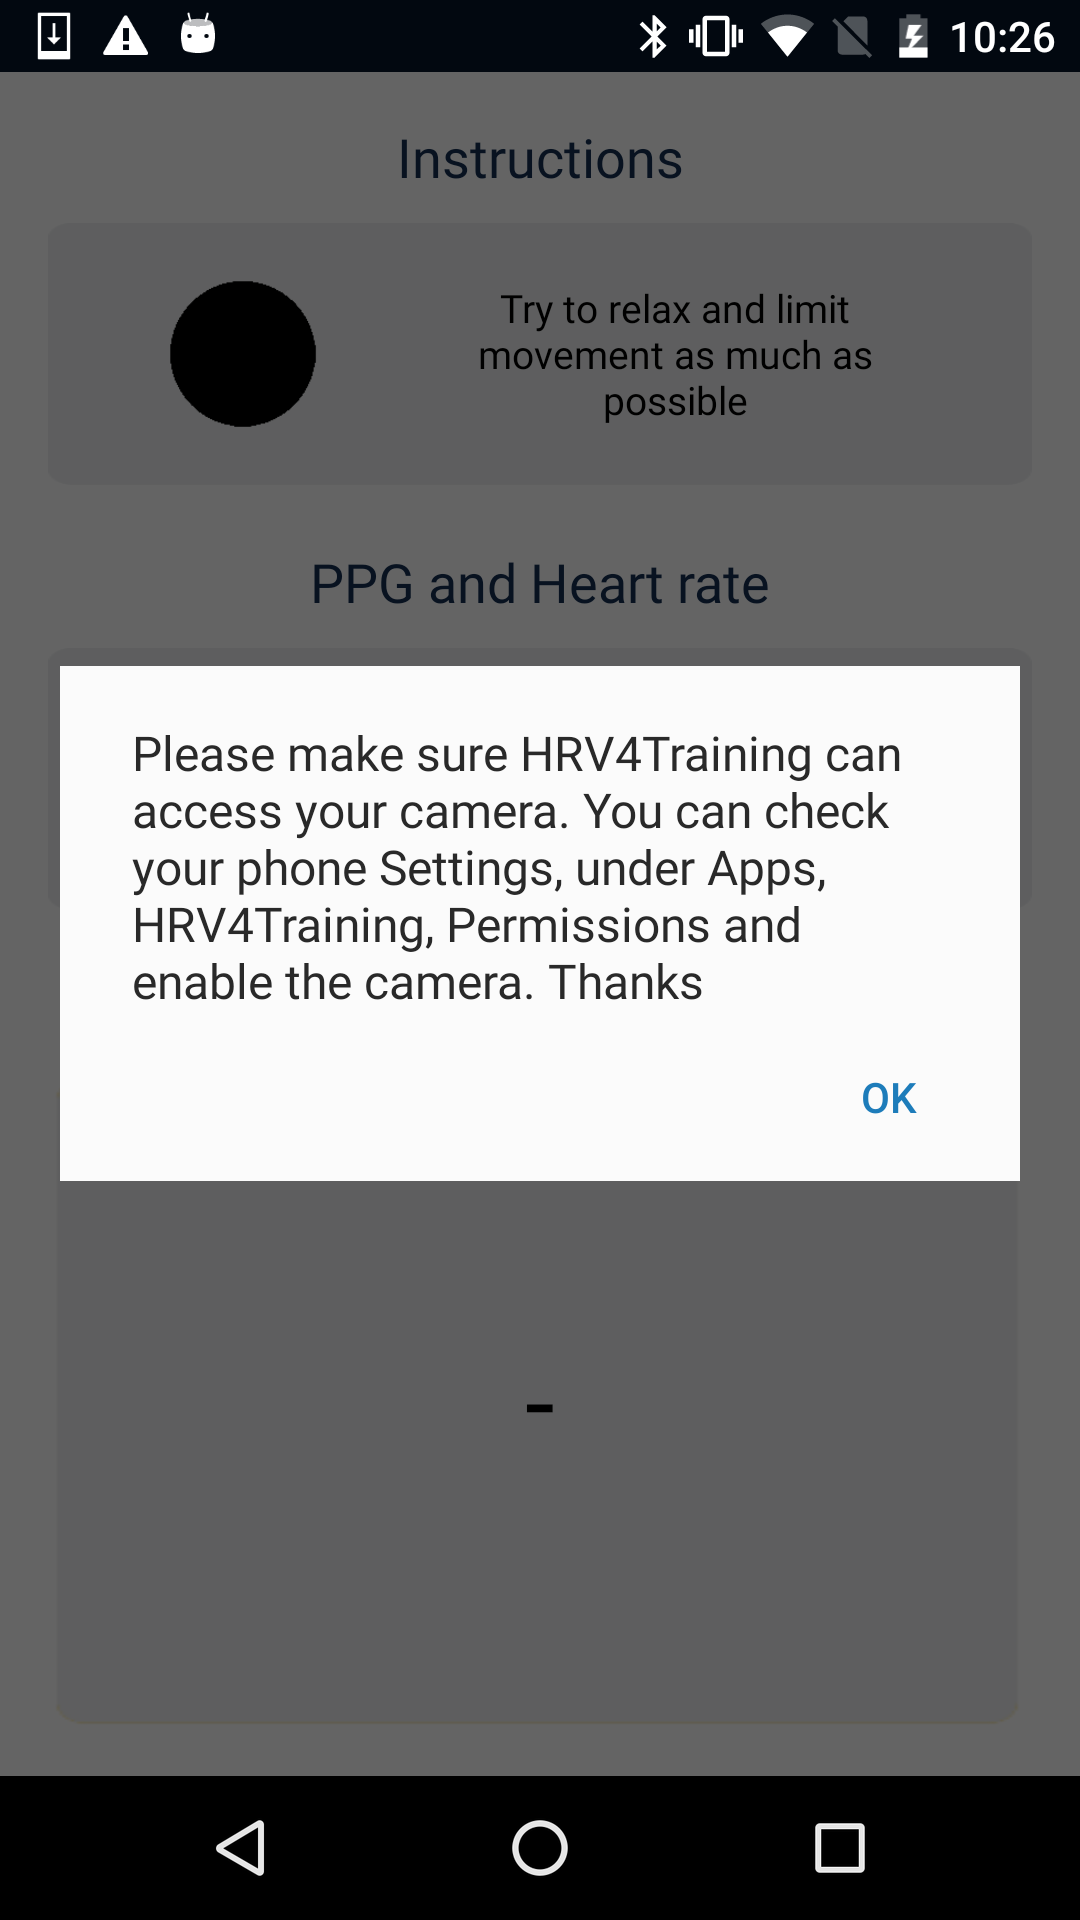
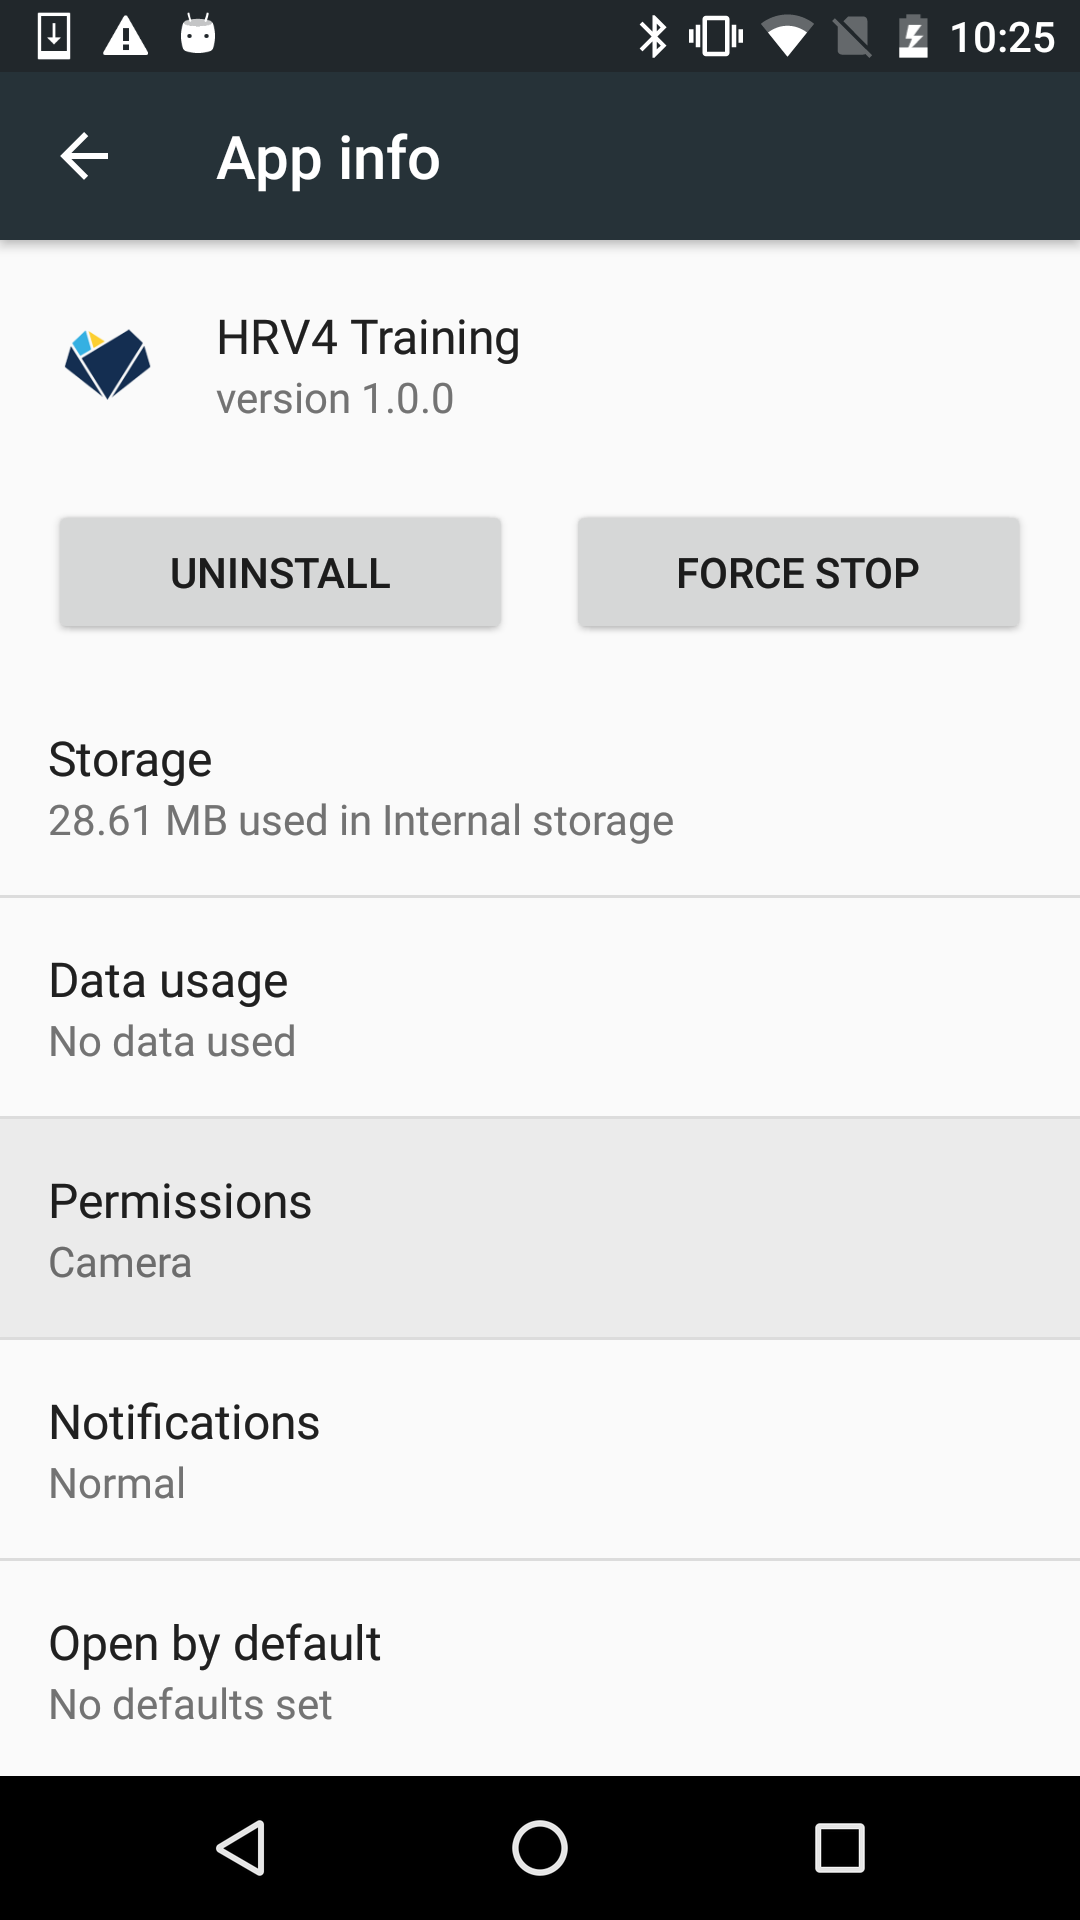
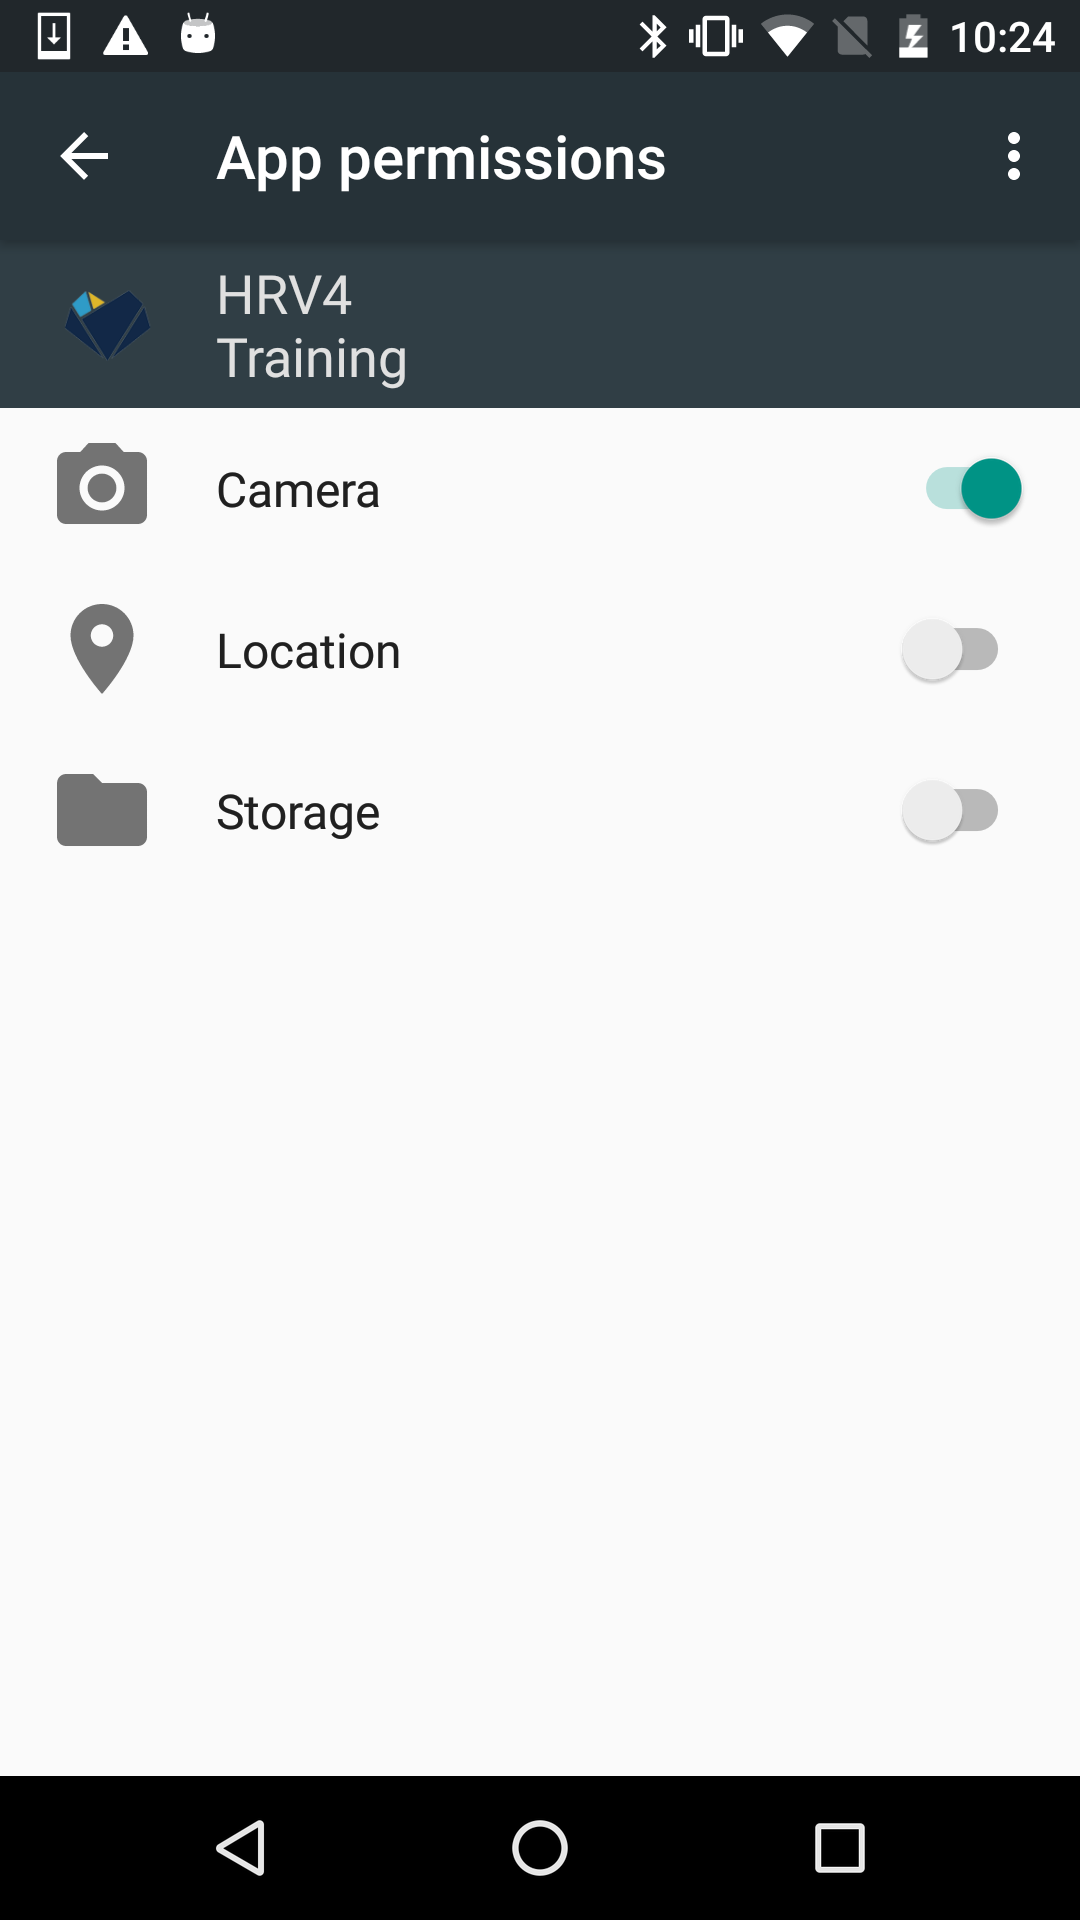
Additional notes on Android measurements

First of all, make sure that HRV4Training is allowed to access your camera. Android apps need permission to access the camera, you can enable the app from Settings / Apps / HRV4Training, Permissions, as shown below:
Picture
Picture
Picture
Picture

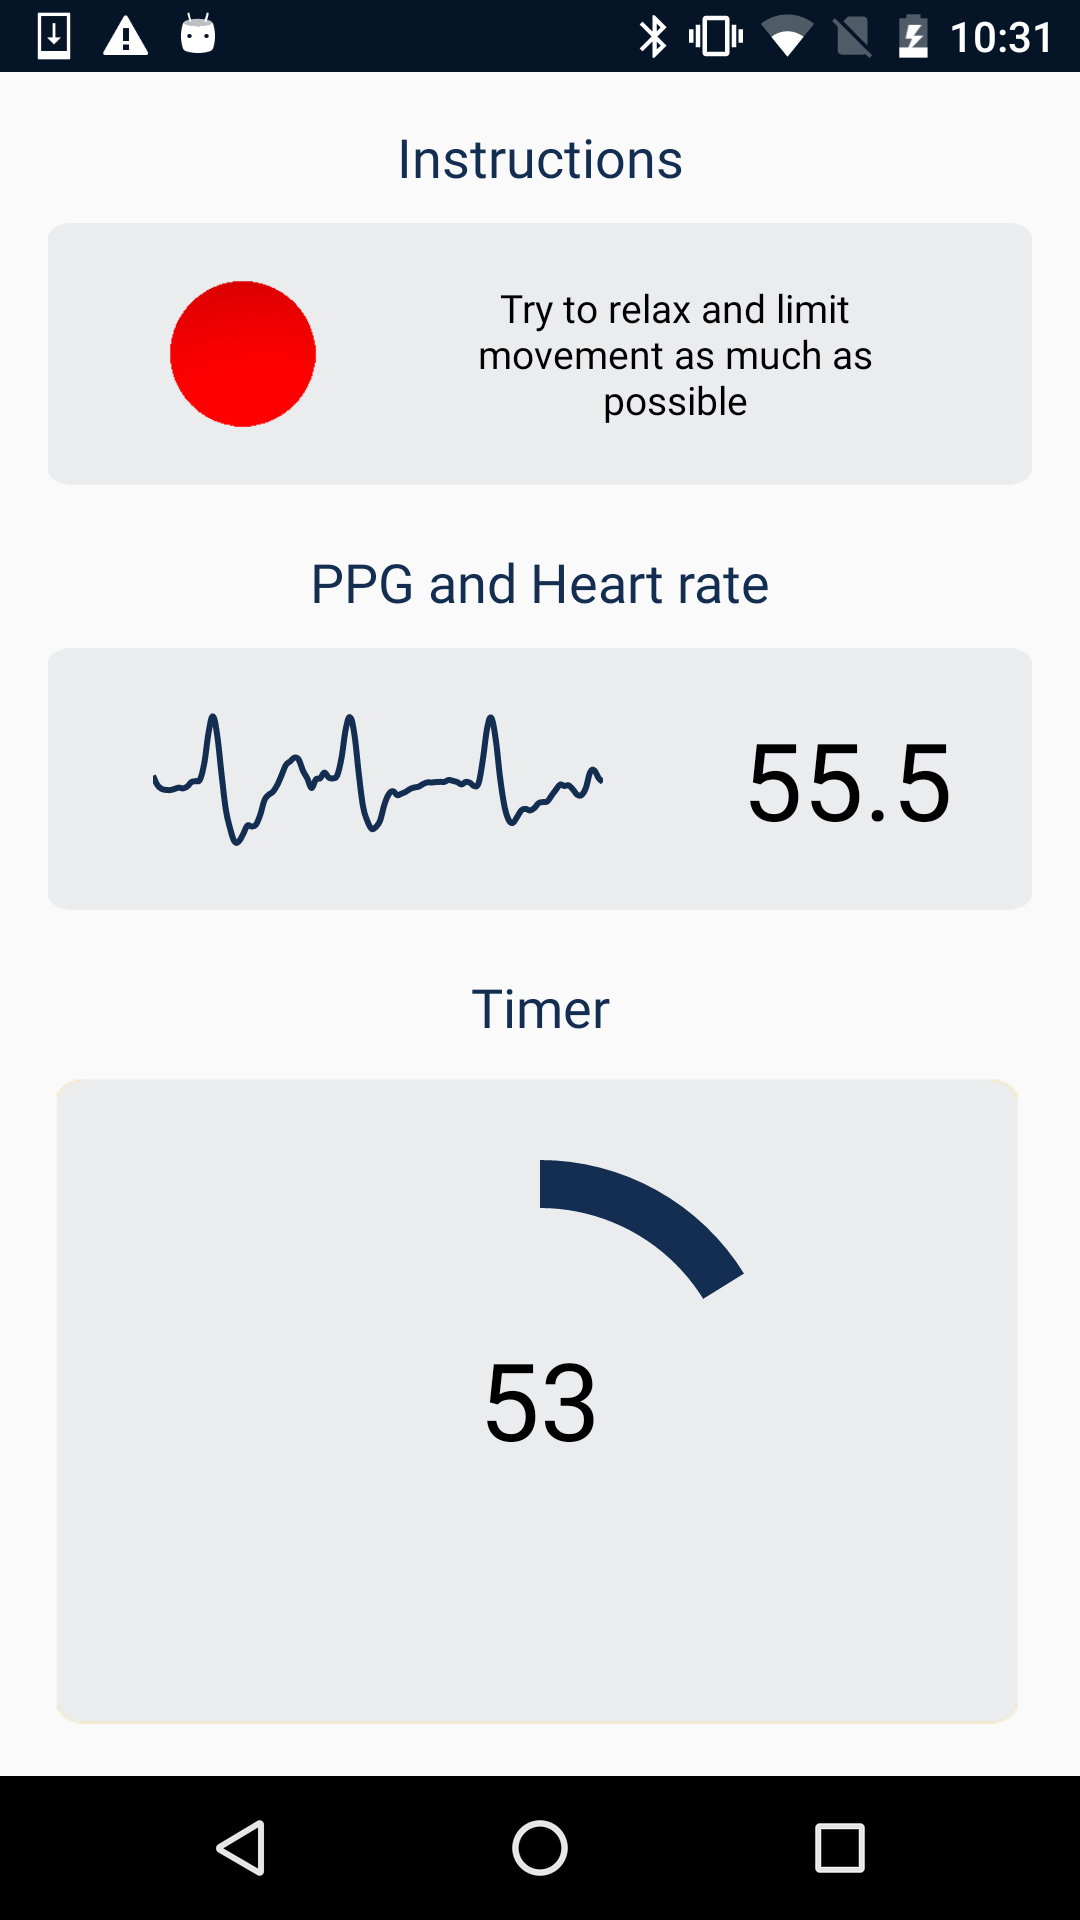
​As mentioned above, while we cannot test all devices and guarantee accuracy on the different Android phones, cameras and operating system versions, we developed methods to detect possible issues with your specific setup and inform you, so that you can take action. 

In particular, during the Practice mode as well as during each measurement, we check that the camera is providing frames at the required frequency and with very limited variations, which is key to provide accurate data. If your phone is unable to sustain the required frequency or lags some frames, we can detect it and inform you, as shown below.
Picture
Picture
Picture
Picture
Sometimes terminating other apps or making sure that there are no other time consuming processes going on in the background can be sufficient to obtain a good reading. You can also try to force stop HRV4Training and launch it again. However, if the problem keeps showing up at each measurement, it could be that simply your setup does not work with this sensor modality. In this case, we recommend using a Bluetooth SMART sensor, for example a Polar H7. If you do not plan to use HRV4Training using a chest strap, you can always get  refund on the Google Play Store.


General guidelines (camera or chest strap)

Here are a few other points that are relevant regardless of the sensor modality you use (camera or Bluetooth low energy sensor):
  • Take the measurement first thing in the morning, possibly while still in bed.
  • Take the measurement always in the same body position.
  • Relax and breathe freely. It's important that you breathe at a breathing rate you feel comfortable with, do not breathe excessively deep, simply relax and breathe normally to avoid affecting your HRV. Try to be consistent over time.
  • Empty the bladder if you need to, then wait 1-2 minutes to relax from the low intensity physical activity you had to do to stand up and walk to the bathroom.
  • Try not to swallow while measuring. Swallowing is known to induce tachycardia, and therefore disrupt autonomic nervous activity. While typically everything goes back to normal within one breathing cycle, a very short HRV measurement will most likely be affected by swallowing, and therefore we suggest re-taking the measurement in this case.
  • Try to relax while measuring. Avoid reading your email and other notifications that might affect your mood acutely (i.e. short upsets that might influence your HRV measurement).
​
1 Comment
Edgardo Sandoval link
6/10/2016 08:32:08 am

Es una excelente idea y buena herramienta para saber cómo uno está cada día

Reply

Your comment will be posted after it is approved.


Leave a Reply.

    Picture
    Picture
    Register to the mailing list
    and try the HRV4Training app!
    Picture
    Picture
Picture
  • Home
  • QuickStart Guide
  • PRO & TEAMS
  • FAQ
  • Privacy & Terms
  • Contact
  • Publications
  • Blog
  • Shop